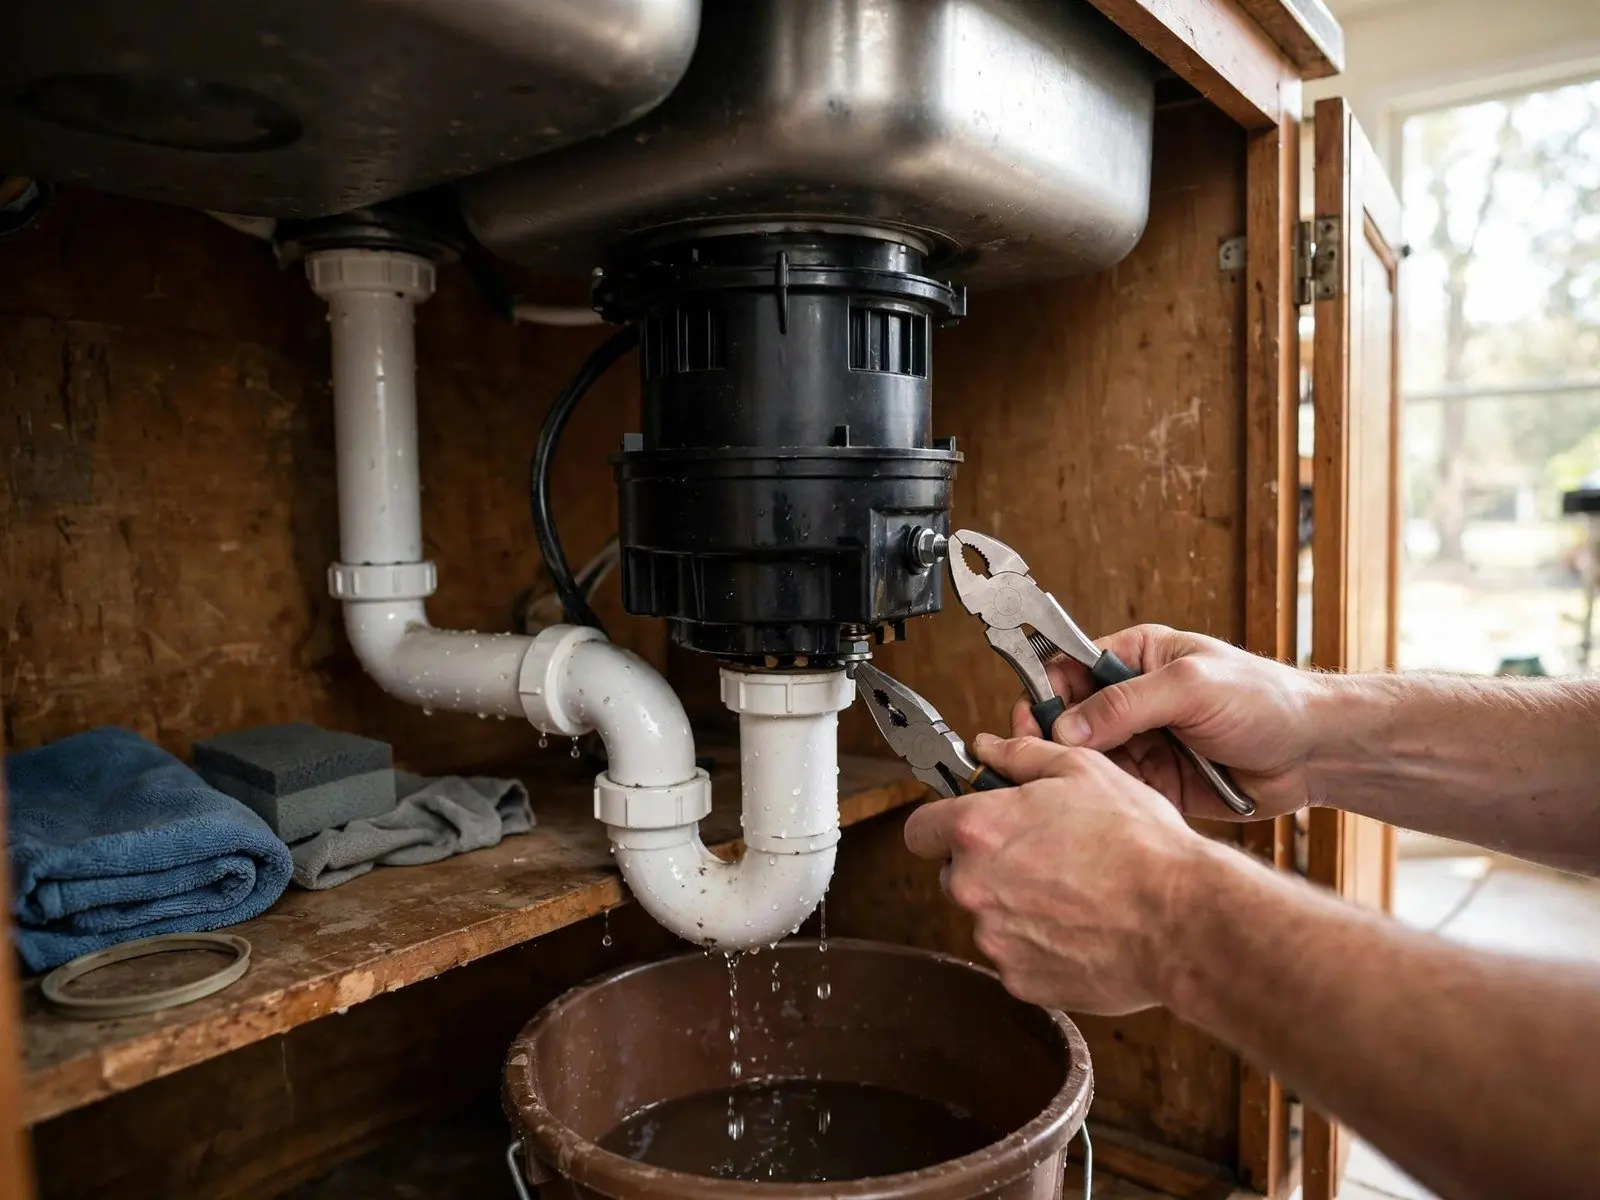
What you need before you start
Gather the new disposal, a plumber's putty or silicone gasket, a screwdriver, pliers, a bucket, and a flashlight. Check whether the old unit was hard-wired or plugged into an outlet under the sink, because the new one needs the same connection. If you are adding a disposal where none existed, you also need a switch and a power source.
| Item | Why you need it |
|---|---|
| New disposal and mounting kit | Most include the mounting ring and gasket |
| Plumber's putty or silicone | Seals the sink flange |
| Discharge elbow and gasket | Connects the unit to the trap |
| Wire nuts and cord or cable clamp | For hard-wired models |
| Bucket and rags | Water remains in the trap |
Steps to install a disposal
Cut the power and disconnect
Switch off the breaker and unplug or unwire the old unit. Disconnect the drain and the dishwasher hose, then remove the old disposal from its mounting ring.
Seal and mount the flange
Press putty under the sink flange, drop it into the drain opening, and tighten the mounting ring from below until putty squeezes out.
Knock out the dishwasher plug
If a dishwasher drains through the disposal, knock out the plug inside the inlet with a hammer and screwdriver and fish it out.
Hang the unit and connect the drain
Lift the disposal onto the mounting ring, rotate it to lock, then attach the discharge elbow and reconnect the trap.
Wire it and test
Connect black to black, white to white, and ground to green, replace the cover, restore power, run water, and check for leaks.
Mistakes that cause leaks and burned-out motors
Skipping the knockout plug
A forgotten plug sends dishwasher water back into the machine and the unit never drains properly.
Too little putty
A thin seal at the flange leaks slowly into the cabinet and rots the floor.
Crooked trap
A trap that is not aligned strains the discharge joint and leaks.
Loose wiring
A bad connection overheats and trips the breaker.
Stuck partway through?
Call and describe where you are. A plumber can finish the connection or take over the whole job.
Choosing the right size
Half horsepower suits a small household that rarely uses it. Three quarter horsepower is the common middle choice, and one horsepower handles heavy use and tougher waste. Larger motors cost more and are louder, so match the size to how you cook. Continuous feed models run while the switch is on, and batch feed models run only with the lid in place.
When to call a plumber instead
- The sink has no outlet or switch and needs electrical work.
- The drain trap or branch is clogged or corroded.
- Your cabinet has unusual plumbing, such as a double bowl with a shared trap.
- You are unsure about wiring and prefer a professional.
A plumber can install the unit and fix a slow drain at the same time. If the disposal is already in and has failed, see garbage disposal repair to decide between a fix and a replacement. A sink that drains slowly may also need drain cleaning.
Testing the disposal and the first week of use
Run cold water for a few seconds, flip the switch, and listen. A smooth hum with no grinding of loose parts is what you want. Then fill the sink basin and let it drain through the unit to check for leaks at the flange, the discharge elbow, and the dishwasher hose.
Look under the sink again after a day. Slow drips show up on a dry paper towel placed under the connections. If the dishwasher runs and water appears at the disposal, the knockout plug is probably still in place or the hose clamp is loose.
What goes in and what stays out
- Small food scraps and soft leftovers, with a steady flow of cold water.
- Citrus peels in small pieces, which freshen the chamber.
- Never grease, oil, or fat, which coat the drain line downstream.
- Never fibrous scraps like celery strings, corn husks, or artichoke leaves in bulk.
- Never bones, pits, or hard shells that the unit was not built to grind.
A disposal that is used well lasts for years. One that is abused clogs the drain line, and the cost of cleaning that line often beats the price of the unit itself.
Forest Lake notes on disposal installs
Minnesota law lets a person who owns and lives in a home do plumbing work on that residence if the work meets the state minimum standards and no local ordinance forbids it. Permit and inspection rules vary, so ask the Forest Lake building department whether a small fixture swap needs paperwork. A contractor is required to be licensed, and you can check any plumber on the state license lookup.
Homes on city sewer send disposal waste to the public system, and the City of Forest Lake asks residents to keep wipes, floss, and similar items out of drains. Homes on septic, such as many in Columbus and Scandia, add solids to the tank, so a disposal should be used sparingly and the tank pumped more often.
Questions Forest Lake Homeowners Ask
A plumber typically does it in about an hour. A first-time homeowner should plan on two to three hours.
Not if there is already an outlet or switch under the sink. If you are adding a disposal with no power source, an electrician or plumber with wiring skills is needed.
It is possible, but it adds solids to the tank. Use it lightly, avoid grease, and ask your septic service provider how often to pump. Washington County regulates septic systems in Scandia, and Columbus is in Anoka County.
Permit rules vary, so ask the Forest Lake building department. A licensed plumber doing the job can tell you what applies.
Three quarter horsepower fits most households. Use half horsepower for light use and one horsepower for heavy cooking.
Something is jammed in the chamber, or the flywheel is stuck. Cut the power, use the hex key at the bottom to free it, and press the reset button.
Sources
- Minnesota Statutes section 326B.46 (state statute)
- Minnesota Department of Labor and Industry plumbing contractor licensing (state agency page)
- City of Forest Lake Sewer Department page (municipal utility page)
- Washington County septic program page (county agency page)